Tuesday, December 14, 2010

ASSIGNMENT 2 (E-WALLPAPER)


1) Our next task is to create
a digital image as a wall paper. The event or theme is MMU FOM Open day dated March 21st, 2011

2) Below are the references that i refer in order to complete my digital wallpaper.


Research & reference:
my camera


Research & reference:
http://www.mmu.edu.my/index.php?req=27


Research & reference:
http://pesona.mmu.edu.my/~razlina


Research & reference:
http://steventsh.com/2010/03/malaysian-universities-and-colleges.html


3) Using adobe photoshop to apply the wallpaper.

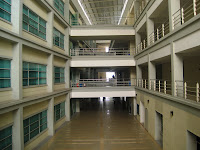
a) First using rectangular marquee tool (M) to copy this FOM building picture and then resize it using free transform (ctrl+t) to re-size the object.


b) Then choose rectangle tool (U) to create one rectangle as shown below and then duplicate the layer to make it two rectangle shape. Change the color to white background.


c) Create new layer as font, and then click at horizontal type tool (T) and then type:
"MMU FOM OPEN DAY!" - Earth (font)
"21st MARCH 2011" - Rockwell (font)
"learning for life" - Elephant (font)


d) Then import mmu logo and place it to the top of the font.


e) After that go to layer, select mmu logo layer, font layer and box copy layer. shift + select these 3 layers, and then go to free transform then rotate as shown below.


Select fom building layer and change the color of the background.


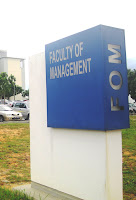
f) Import FOM signboard and place it below of the font.


g) And then i chose another FOM building and place it left of the FOM signboard at the bottom.


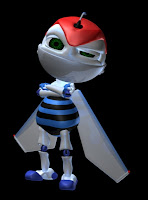
h) Same goes to MMU mascot and Tm university logo.


i) To make font more alive, i duplicate the font layer, and choose only the "MMU FOM OPEN DAY" title and change to black in color. And then i move a bit below so the font will more bold.


And this is the final output of my E-Wallpaper.


Monday, November 29, 2010

ASSIGNMENT 1 (FACE)


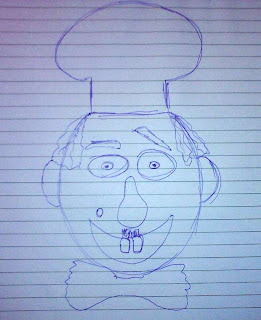
1) The first task that have been given to us is to create a digital face using a list of vegetables. Before i proceed to photoshop, I've sketched it first and below is my sketching.


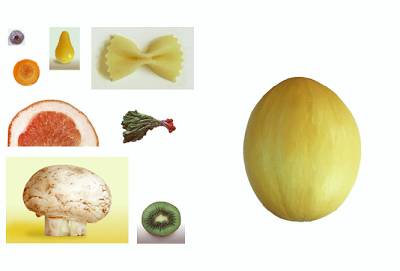
2) I'm using the list of vegetables given by Dr. Ken Neo as starting for my digital face.

Carrot - Ears
Broccoli
- Hat

Kiwi
- Eyes

Potato
- Face

Pasta
- Bow

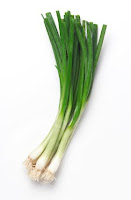
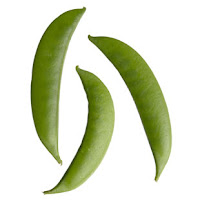
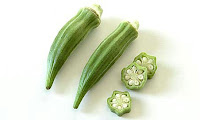
Green Vegetable
- Hair

Eugenia aquea
- Nose


3) I added other vegetables (extras) for my digital face.

Scallions - Mustache

Research & reference:
http://www.justphoyou.com/ingredients.asp


Olive - Mole

Research & reference:

http://www.terramedi.com/history.html


Garlic - Teeth

Research & reference:

http://goviolet.com/?p=624


4) And then i applied it using adobe photoshop.

a) First, use elliptical marquee tool (M) to copy the shape of the object.


b) Then using magic wand tool (W) to clear up the unnecessary extra within the object.


c) Go to edit > free transform (ctrl+T) to resize the object as we wanted.


d) The same thing goes to kiwi. Using elliptical marquee tool (M) to copy the shape and then (ctrl+T) to resize the object. After that place the kiwi on top of the face to make it eyes.


e) To make another eyes, go to the eye layer and then right click and choose duplicate layer. Rename this layer as right eye. By doing this, we've got another eye and replace it beside the left eye.
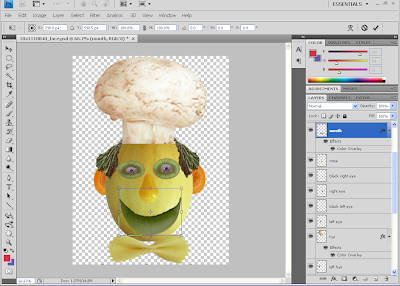


f) Repeat the same method as eyes for the small eyeball.


g) For nose, use rectangular marquee tool (M) and then copy the object. After that using magic wand tool (W) again to make the object more sharpen.


h) I'm using this slice of carrot as his ears (M) > (ctrl+T).


I put the ears on the back the face by dragging the ears' layer below the face's layer and duplicate the layer for his right ear.


i) For his hair, i used rectangular marquee tool (M) > magic wand tool (W). Duplicated the layer and place it to other side.


j) The same thing goes to his hat, (M) > (W) > (ctrl+T) and place it to the top of the face.


k) And repeat method (j) for the bow.


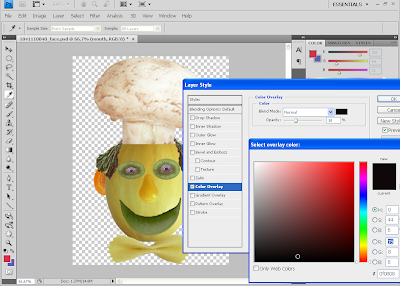
l) The same method goes for his mouth.


And then i used some effect which is color overlay and reduce the capacity to 30.


m) For his mustache, using magic wand tool (W) and then crop it, place it to the face.


n) For the eyebrow, I'm using (W) > (ctrl+T) > duplicate layer.


o) Same goes to teeth.


p) I'm using olive as his mole and repeat the same method as above.


Double click at the layer and then use satin, blend mode - darken.


And yeahh, this is the final output for my digital face.


DESCRIPTION ABOUT MY DIGITAL FACE

I am creating a chef with one wide open right eye and raised right eyebrow. He also have short mustache with two highlighted teeth. Balding in the middle cover with his big chef hat and a mole above his mouth.